General approach
When packing my work and emergency gear I remind myself that the next I see that kit I may be scared, cold, calorically depleted, and exhausted. My environment could be dark, wet, chaotic, and otherwise inhospitable. Those factors add friction. Friction is bad. We want operations to go smoothly. If we reduce friction in small ways in multiple areas the cumulative effect may be significant. Properly prepping equipment is one of those areas where small changes add up.
Easier opening and color coding
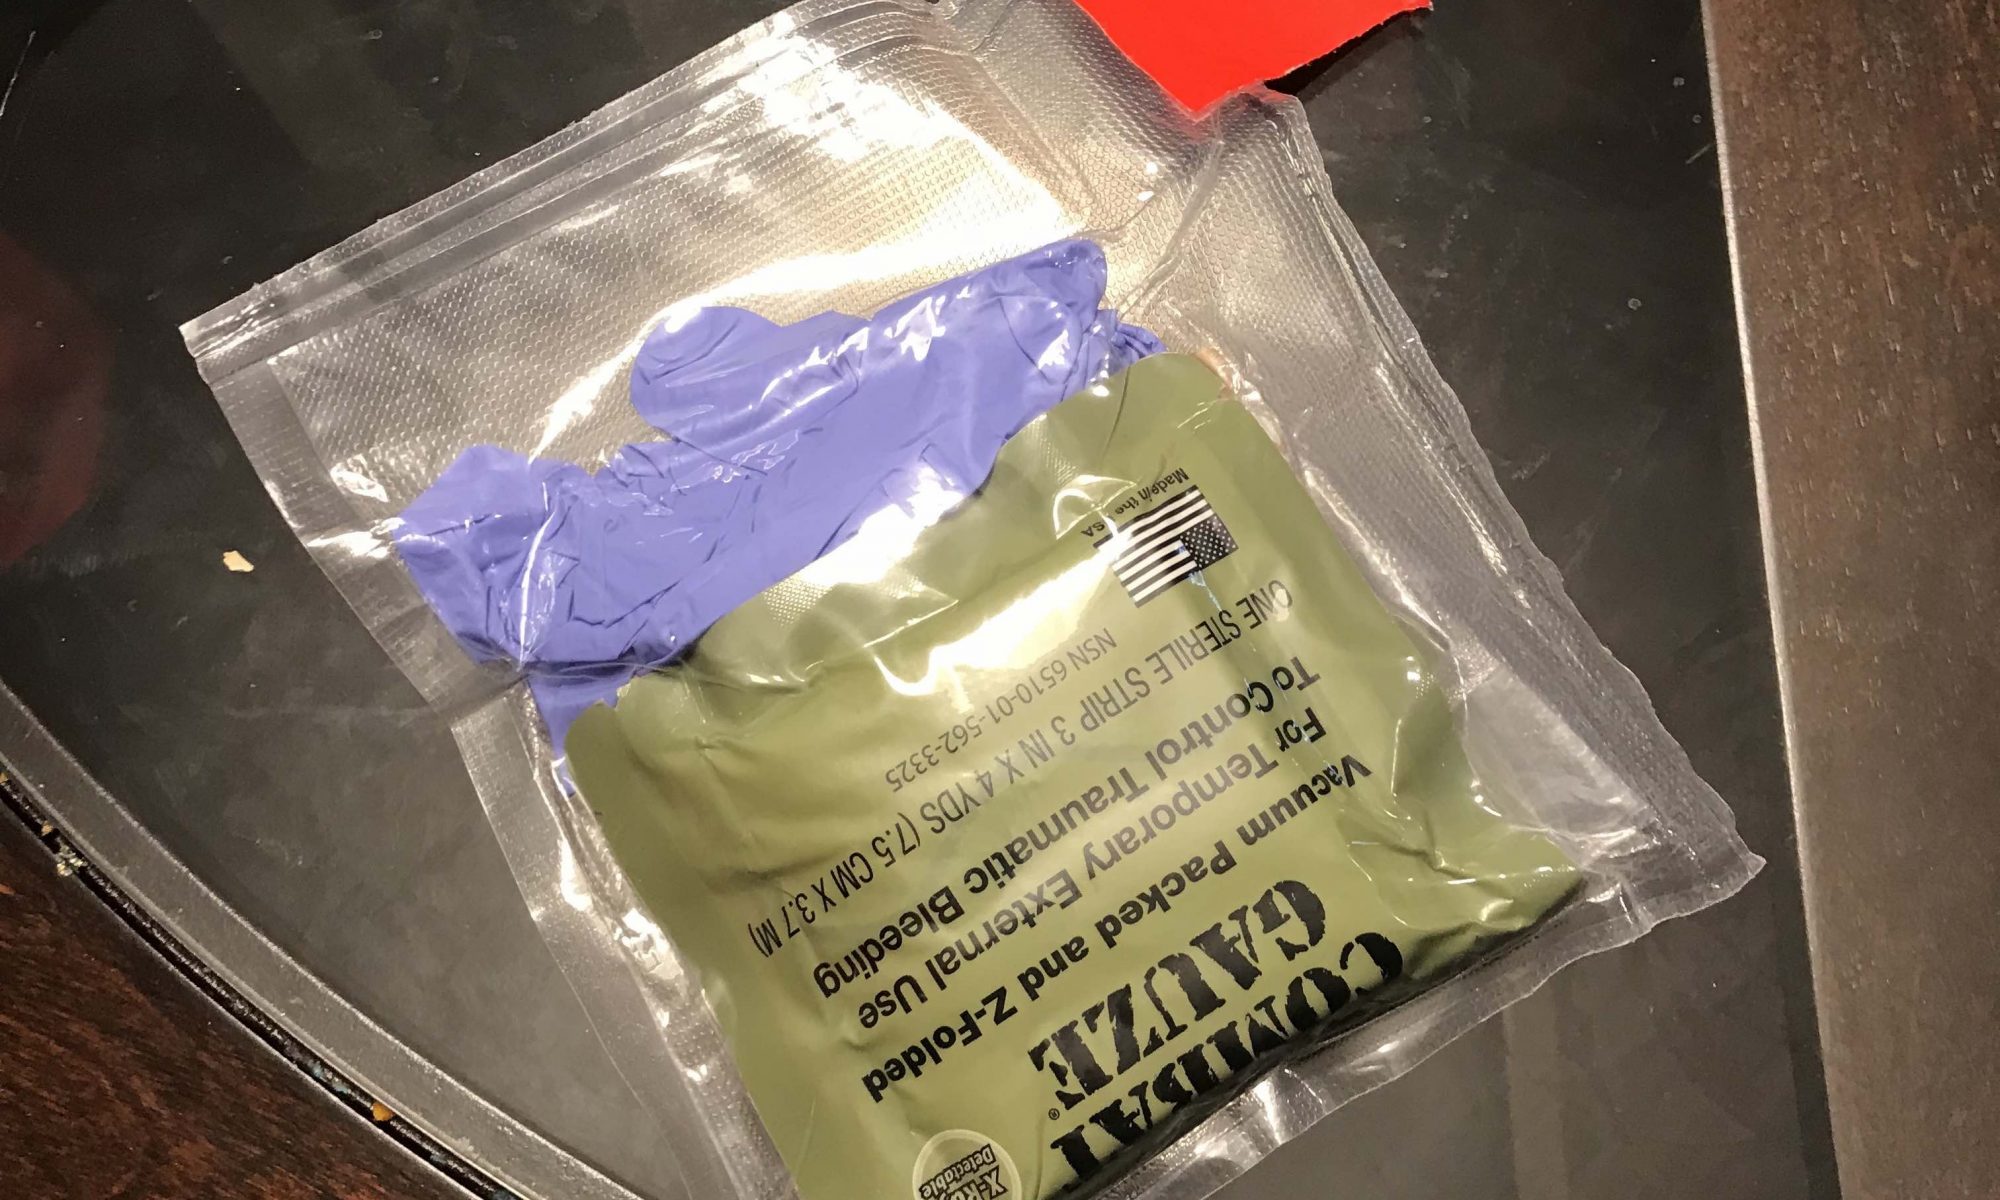
Plastic items can have pull tabs added and if there is a specific way to open the package highlight that with sharpies. I generally make the tabs a little larger than needed. Duct tape is good and comes in multiple colors. I’ll talk about colors in a bit. 1” medical tape is another good option for smaller items like IV site covers, IV start kits, and zip locks. Someone recently suggested hockey tape as it has a grippier texture than duct tape. I haven’t tried hockey tape yet, but when I do I’ll add to this post.
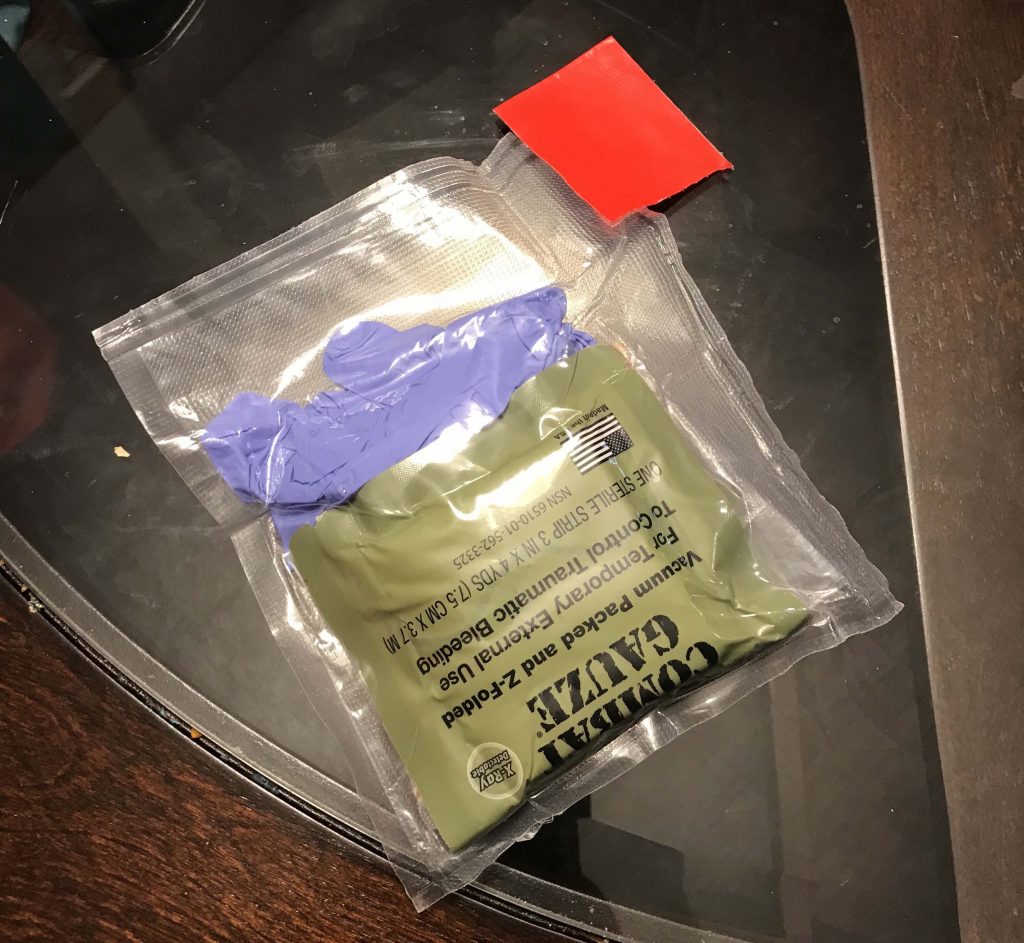
When using colors I typically use red to denote an item or a kit associated with bleeding control. Blue is for airway or breathing. Yellow or orange is not specific to a type of gear/problem but simply used to highlight something.
In addition to tape pull tabs I use paracord for zipper pulls. The paracord will follow the same color conventions outlined above. Black paracord may be used as a neutral color.
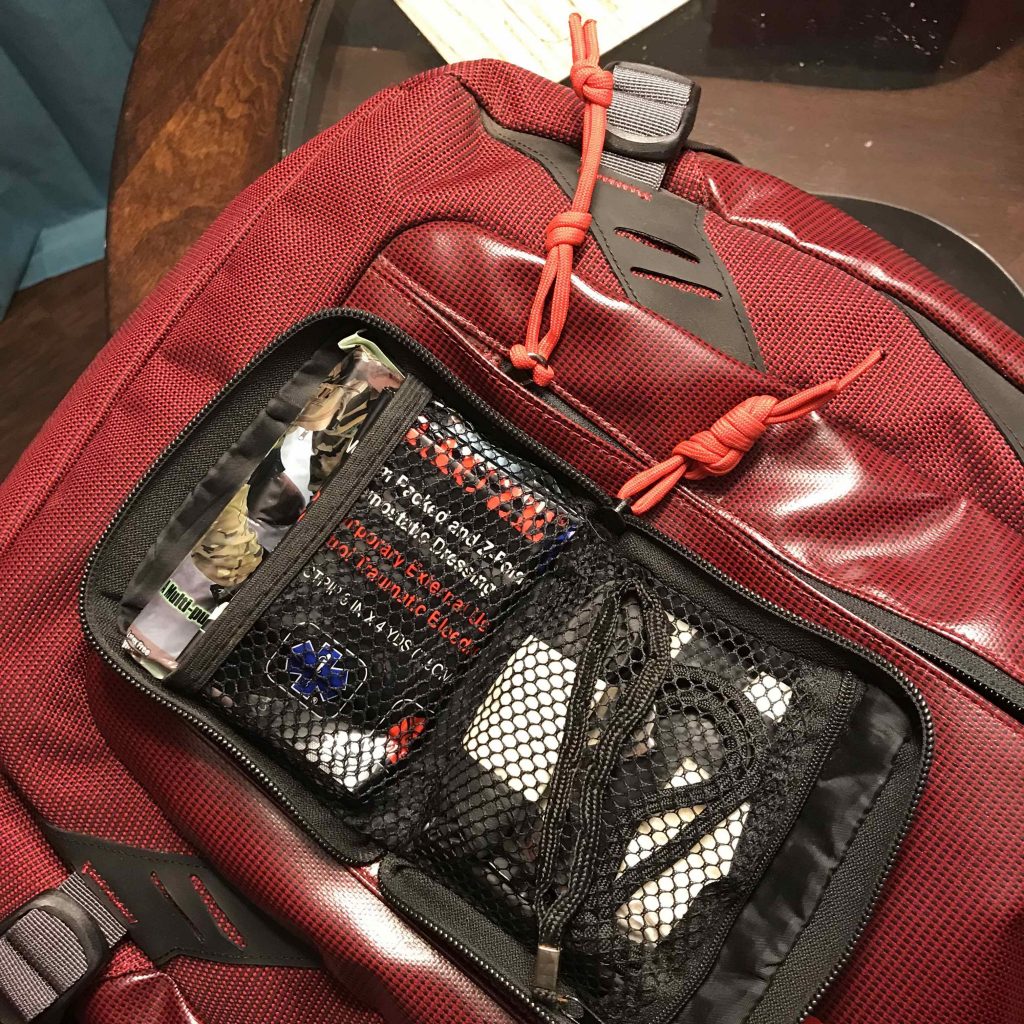
Labeling and Layout
I want compartments and pouches to be laid out logically and labeled clearly. I should be able to send someone into my bag to get something for me. I make the assumption that they may not be medically trained so while I may not be able to tell them to get me a specific item I can tell them give me the pouch labeled “bleeding” or the bag labeled “medic”.
I like to use the MARCH PAWS mnemonic as a packing aid. At the top of the pack or on the exterior I will have items to control massive hemorrhage. At hand next would be airway items, at least an NPA if not an EGA or cric kit. Airway and respiration might get combined depending on protocols and risk assessment so that a chest seal is included with the airway items or respiration may get its own section with multiple chest seals, needle decompression catheters, and chest tube kit.
In the case of multiple people working out of one bag I would rather a pouch be removed than the entire bag moved. To make this easier I like having velcro backed pouches that can be easily removed and replaced. During the gear setup phase a velcro panel with a few velcro backed pouches makes it pretty easy to reconfigure the kit to fit different needs. Velcro backed pouches can be useful when it’s just me working out of a bag as well. If I’m doing a minor procedure or treating a specialized issue (eg dental) it is handy to pull out a single pouch and have that at the patient’s side rather than the entire bag.
Formal packing lists for overall kits and procedural packs are quite helpful. In the absence of that, mentally walking through the steps of the procedure slowly and methodically while writing down what I need or checking what I have already packed by taking the items out as I “use” them.
Vacuum Sealing
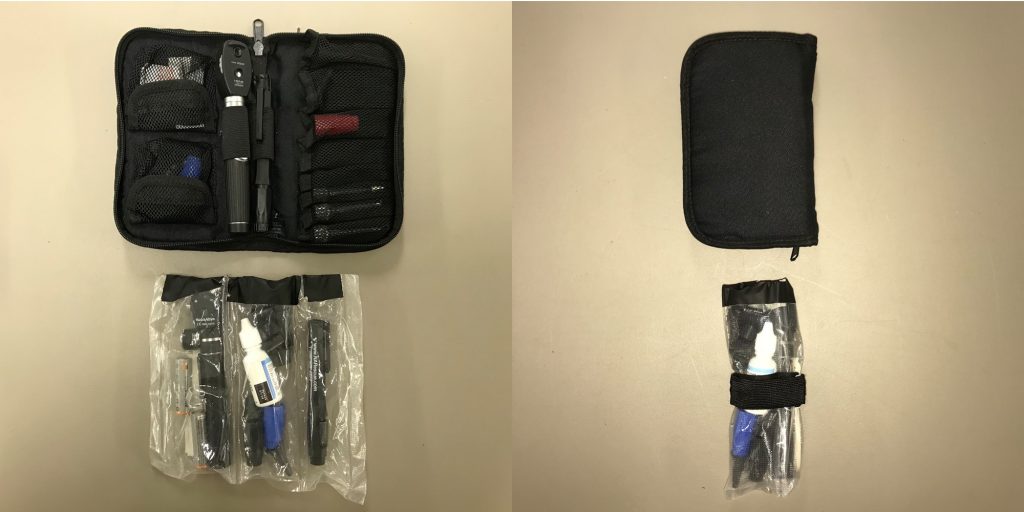
A food grade vacuum sealer allows for creation of waterproof and slightly ruggedized kits. Once opened in the field the vacuum is lost but if you are careful how you open it you can close the pouch with a bit of duct tape leaving you with a water resistant and lightweight pouch. I’ve done that with my EENT kit and it makes the kit a lot smaller to carry than the originally packaging which was padded a nylon case. I don’t need the protection from the original case my EENT kit stays inside the Outdoor Research Organizer I use for my diagnostics.
Kits within the Kit
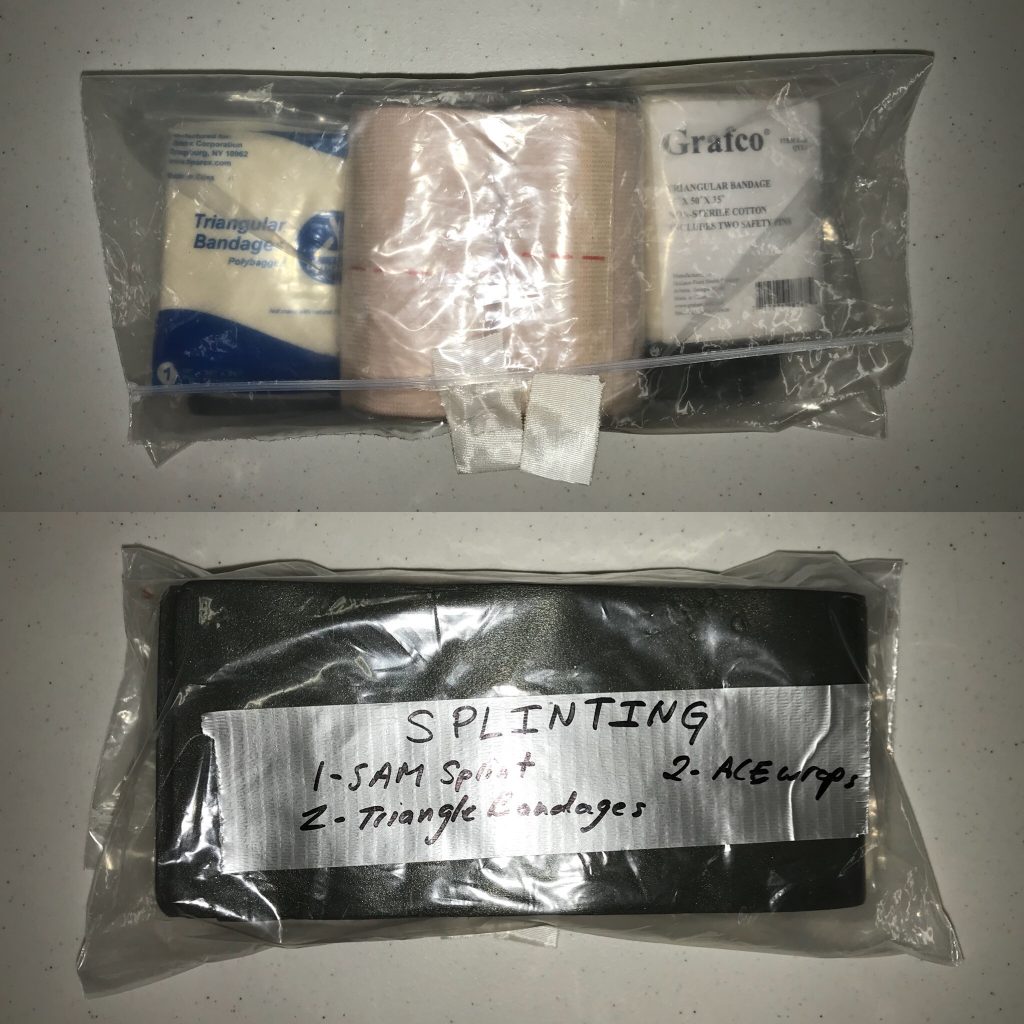
If space permits, assembling all of the needed supplies for a single procedure in to a single ziplock or vacuum sealed package can be very useful. The most common kit I will assemble is for splinting. In a gallon ziplock I’ll place 1 SAM Splint, 2 triangle bandages, and 2 elastic wraps. When working alone or with a partner the entire medic bag is no longer moved, I can simply remove the splinting kit and apply the splint.
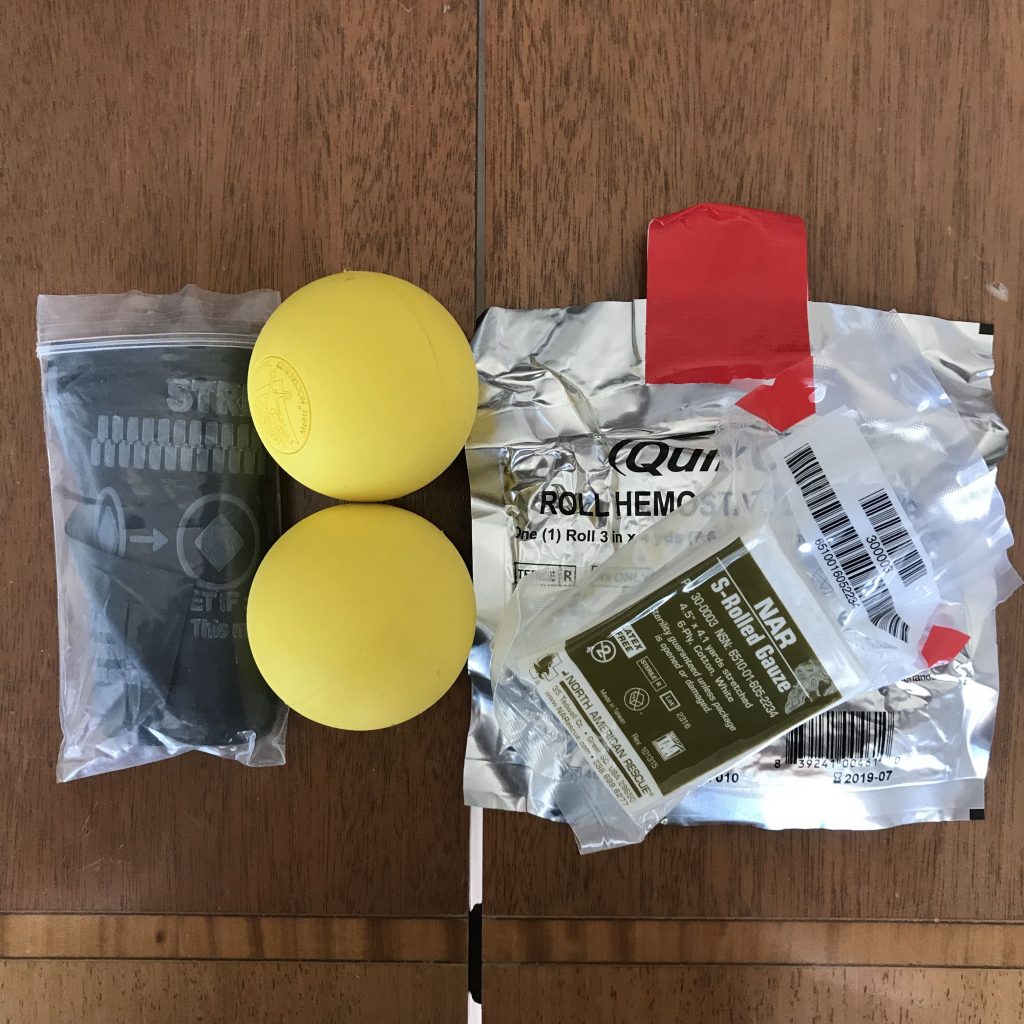
Another kit I have packed is for junctional hemorrhage control. Given that it wouldn’t be a frequently seen injury but required several components to treat I wished to keep those items together. To treat a single junctional wound I pack one lacrosse ball, one package of hemostatic gauze, one package of compressed non-hemostatic gauze, and either a SWAT TQ or a 6” Israeli dressing.
The kit could be vacuum sealed together, put in a zip lock, or stored loose in a pouch.
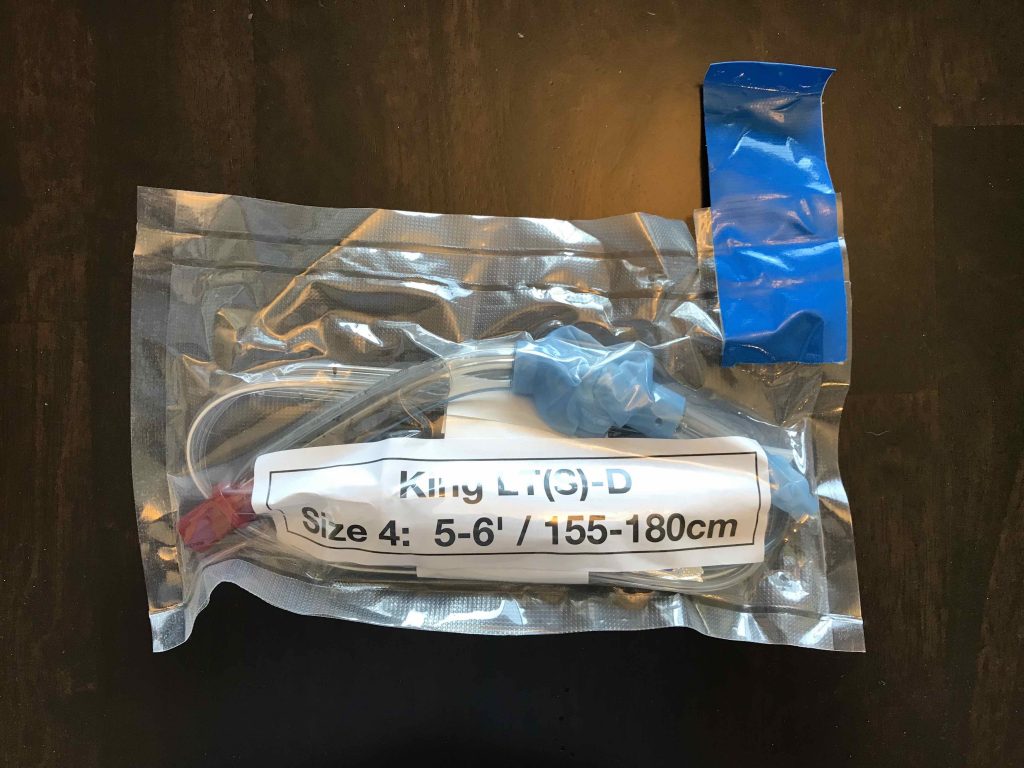
Here’s an example for airway management. The King LT(S)-D is packed with the necessary syringe to inflate the King bladder and gastric suction tubing to decompress the stomach. There is also an adapter to use a Squid Suction unit to pull from the NG tube.
The kit is clearly labeled and uses a blue tear tab to denote an airway item while also making it easier to open. If one wished to highlight the color associated with the size of the king the label could be printed on corresponding paper or paper inserted before vacuum sealing.
While the color of the paper may seem like an aesthetic choice if one is working with non-medical personnel or through a language barrier being able to say grab the “red package with the blue tape” or the “yellow package with blue tape” might be helpful.
